30. Recordings#
FS One lets you create recordings, play them back, and delete them. FS One also includes pre-installed recordings that are used for Flight Training, demo flights, and aerotowing.
30.1. Create Recordings#
To record a flight:
Start from one of these Fly Screens:
Click Fly.
To start recording, press
Enter.A red camcorder-like REC symbol will appear at top right to indicate that a recording is taking place. If the red recording symbol does not appear, press
Enteragain.To stop recording, press
Enter.Into the dialog that appears, type a filename for the recording. When giving it a filename, it is useful to include the name of the aircraft and flying site. Select that flying site when you play back. In the filename, use only letters, numbers, and dashes in the filename.

Click Ok to save the recording, or Cancel to not save the recording. You can also simply press
Enterto end a recording and not save the recording.During an active recording, you can stop the recording by pressing
Escto stop flying.
30.2. Playback Recordings#
There are three ways to play back recordings.
Flight Training: The pre-installed recordings for flight training can be viewed by selecting the specific flight training lesson.
Just Watch Your Flights: From the Main Menu, along the bottom bar, click on Recordings. The Playback Recordings window lets you pick which recordings to play back. Choose up to 8 recordings. An example is shown below. Your flying site selection should match the site used to make the recording (for stock recordings, the flying site name is in the recording filename). For each recording, when the end of the recording is reached during playback, the flight will report. The example flights selected below will all repeat every 242 seconds or until you exit (see column labeled “Length”).
You can pause, fast forward, etc using the Flight Recorder Playback Tool (via
Backspacekey).
To see things in action, from the Main Menu, click on the lower Recordings button. Then select from the list all recordings with names starting with “DemoB-…”. These are 4 recordings of 33% scale warbirds. For the Flying Site, select Frasca Airport. Click Fly to watch the recordings.
Press the
Tabkey to cycle your camera view to each airplane in turn. Once you are looking at one airplane, all of the camera function keys (F1-F12) will apply to that airplane. PressTabto cycle to the next airplane, which will use the camera last assigned to it, and so on through all 4 airplanes.To pause all of the recordings, use the playback
Backspacetool and click the Pause button. (Do not use thePkey. ThePkey is best used when you are in your own Flight Session, and not using this separate Recordings playback feature.)If the camera situation gets confusing, use
TabandF1(repeat four times) to cycle through all airplanes and set each of their cameras to theF1view from the ground.Use the second
F12camera (pressF12twice) and use your mouse to point your camera to where you want to look. The useZ/Xto zoom in/out.

Playback Recordings page that lets you watch your recordings.#
Fly with Your Recordings: From a Fly Screen with a Recordings pane in the lower right, you can click to add recorded flights to playback during your flight session. Choose up to 8 recordings. An example is shown below. These flights are the same as those in the image above, except in this case below, you can fly along with these recordings!
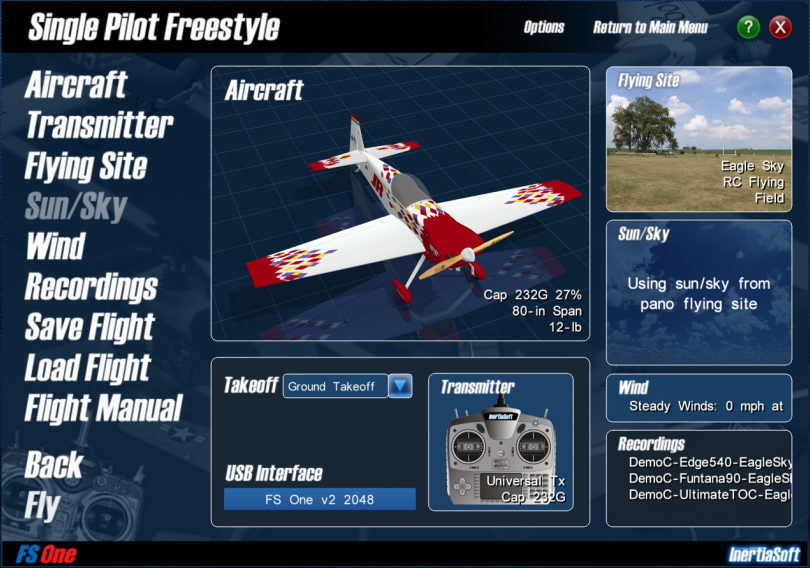
Fly Screen showing recordings selections to playback while flying.#
In addition to flying with your recordings selections, you can also simultaneously make a recording during the same flight session. “Overdubbing” such recordings can produce effects like many aircraft flying in formation (close together as a team), such as the 4 airplane “DemoB-” example mentioned above.
To clear flight recordings from the Recordings pane (to not fly with them), click on the Recordings pane and click Clear to clear all or check only the boxed for the recording(s) that you want to clear from your Fly Screen selections`. Click Ok when you are done. See below.

Dialog for selecting, clearing, and deleting recordings.#
30.3. Delete Recordings#
To delete a recording entirely, click on the Recordings pane, check the box, and click on Delete.
FS One also includes pre-installed stock recordings that are used for Flight Training, demo flights, and aerotowing. If any of these topics interest you, avoid accidentally deleting these recordings. The software does not stop you from deleting them.
30.4. Cameras with Multiple Aircraft#
To use cameras with recordings, see the section: Camera Views | Cameras with Multiple Aircraft.